 Blocchi di zirconi bianchi
 Blocchi di zirconio multistrato
 Blocchi di zirconi colorati
 Blocchi di zirconio 3D
 Blocchi di zirconia 4D
 Disilicato di litio ambrato
 Porcellana da stampa
 Ceramica non sinterizzata
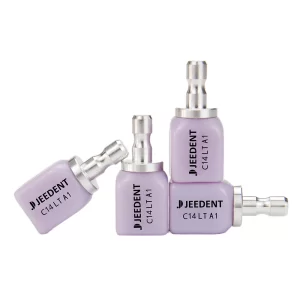 Ceramica al disilicato di litio C14
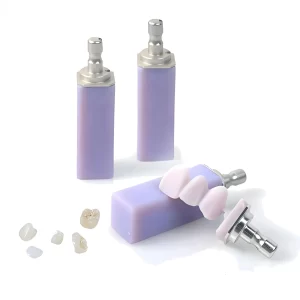 B40 Ceramica al disilicato di litio
 Disco WAX
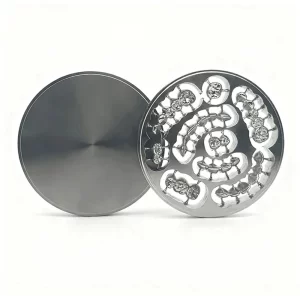 Disco in titanio
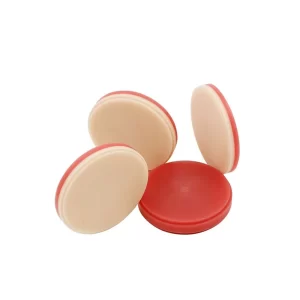 Disco in PMMA a doppio strato
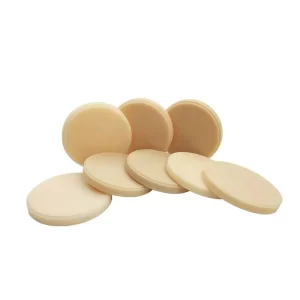 Disco in PMMA
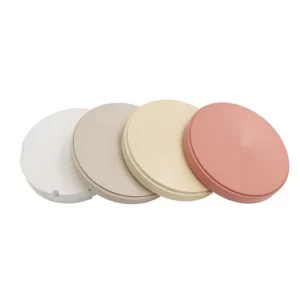 PEEK Dics
 Frese dentali
 Macchie e smalti
 Pasta per scansione dentale
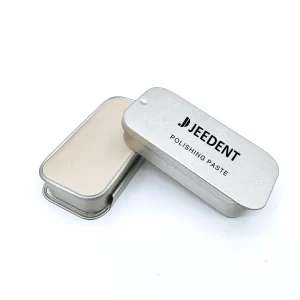 Pasta per lucidare i denti
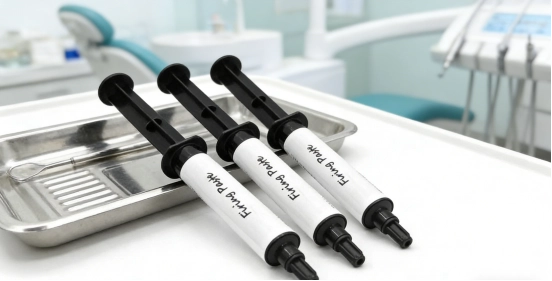
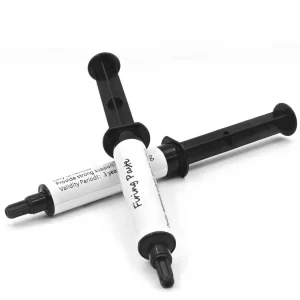 Pasta per sinterizzazione dentale
 Scanner 3D dentale da tavolo
 Scanner intraorale
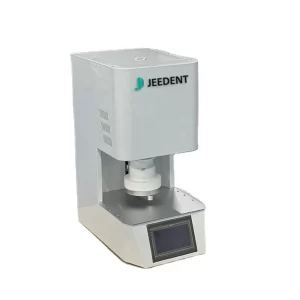 Forni di sinterizzazione dentali
 Forno per porcellana dentale
 Fresatrice dentale
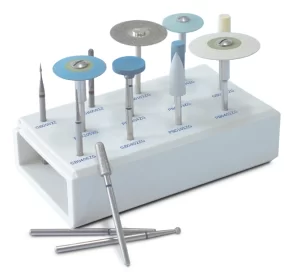 Kit di lucidatura dentale
 Articolatore BN
 Articolatori completamente regolabili
When working with dental ceramics, sintering paste is a material you should not skip. It makes the workflow smoother. It also leads to better results each time. If you regularly make veneers, crowns, or bridges, you know consistent sintering matters. Here is the basic idea. The paste applies easily. It works with standard sintering furnaces. It helps ceramics fire evenly and completely. This consistency improves both strength and appearance. The paste bonds well with ceramic materials. It helps create final pieces that look natural. This guide covers the key points. We will explain what sintering paste is, describe its working principle, and demonstrate how to use it. Additionally, we will also explain why every dental laboratory or clinic should use it.
What Is Dental Sintering Paste?
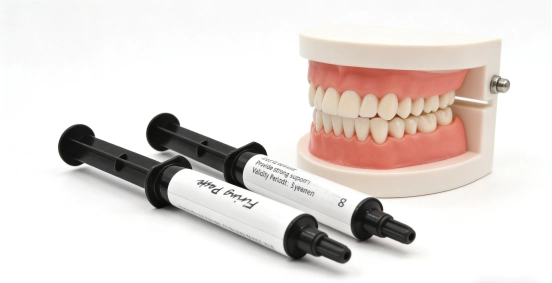
Dental sintering paste is a key material in ceramic processing. It is designed to improve the sintering process. At room temperature, it appears as a smooth white paste. It is easy to work with and requires no special skills or equipment for application. Unlike other dental materials, this paste is user-friendly. It applies smoothly and fits well into existing lab workflows. The paste is available in various specifications. Users can select the appropriate type based on their laboratory needs. It works for both small-scale experiments and large-scale production.Dental sintering paste has one primary function. It supports and stabilizes dental restorations during the firing process. You apply it before sintering begins. It helps prevent the restoration from warping or deforming under heat. When used with professional sintering equipment, the paste promotes even and complete sintering. This prevents weak spots or uneven areas in the final restoration. The paste also bonds well with ceramic materials. This bonding contributes to a natural appearance. Restorations look lifelike rather than artificial.
Key Benefits of Dental Sintering Paste
Dental sintering paste offers several practical features. Each feature brings real benefits to daily laboratory work. Let us examine them clearly.
Easy to Use
The paste requires no special training. It applies smoothly and fits into any workflow. This saves time and allows more restorations to be completed. It eliminates the mess often associated with other products.
Simple to Shape
Complex structures like pontics or partial crowns are easier to manage with this paste. It molds easily around detailed areas. This improves precision and helps restorations fit better.
Reliable Performance
The paste adheres well during sintering. It has a low shrinkage rate, so restorations maintain their shape. Good fluidity ensures even coverage. This reduces warping, cracks, and other defects.
Stays Clean
The material resists discoloration from coffee, tea, or other staining foods. Restorations remain white and natural-looking over time. This reduces the need for early replacements.
Improves Strength and Appearance
The paste enhances the strength of dental ceramics. Restorations become more resistant to wear and breakage. It also helps ceramics blend with natural teeth for a lifelike result.
Wide Application
This paste works for many restoration types. Veneers, inlays, onlays, partial crowns, single crowns, and pontics all benefit from its use. It provides stable support during sintering regardless of shape or size.
Step-by-Step Usage Guide
Using dental sintering paste is simple. It fits into your current workflow. Follow these steps for consistent results.
Step 1: Clean the Restoration
Start with a clean green ceramic restoration. Remove dust and milling debris. Use a soft brush or air compressor. The surface must be clean and dry. Moisture or dirt affects how well the paste sticks.
Step 2: Apply the Paste
Use a small brush or spatula. Apply a thin, even layer over the entire surface. The paste spreads easily at room temperature. Keep the layer thin but complete. Pay extra attention to edges and complex areas. These parts need the most support during firing.
Step 3: Dry Thoroughly
Let the paste dry completely before sintering. Air drying takes 10 to 15 minutes at room temperature. A low-temperature drying oven at 50 to 80°C speeds this up to 5 to 10 minutes. Any leftover moisture creates defects during sintering.
Step 4: Sinter as Usual
Place the dried restoration in your sintering furnace. Follow your normal sintering cycle. The paste works with standard programs. No need to adjust temperature or time.
Step 5: Cool Naturally
Let the restoration cool in the furnace. Follow your usual cooling steps. Avoid rushing this process. Sudden temperature changes cause stress and cracking even with good paste. Slow cooling ensures a defect-free result.
Pro Tips for Best Results
Follow these simple guidelines to get consistent results with your sintering paste:
Choose the Right Size: Select 7g containers for small batches or occasional use. Pick 70g sizes for high-volume labs. This prevents waste and avoids running out mid-job.
Control the Amount: Apply a thin, even layer. Too much paste leaves residue. Too little fails to support the restoration properly. The right amount ensures clean, reliable results.
Store Properly: Keep the paste sealed in a cool, dry place. This prevents drying and maintains its effectiveness over time.
Use for All Restoration Types: This paste works for crowns, veneers, inlays, pontics, and more. Take advantage of its versatility across different cases.
Conclusion
Dental sintering paste serves a practical purpose in the laboratory. It improves efficiency and supports consistent results. The material applies easily and performs reliably. It works with many types of restorations. Technicians use it for crowns, veneers, and complex frameworks. The paste helps produce stronger restorations with a natural appearance. Its smooth texture fits into existing workflows. It resists discoloration and bonds well with ceramics. Basic application steps prevent common problems like warping or cracking. Technicians at any skill level can use it effectively. The material saves time and reduces waste during production. It supports high-quality outcomes in the lab. Patients receive durable restorations that look natural. Regular use makes this paste a standard part of the workflow.