
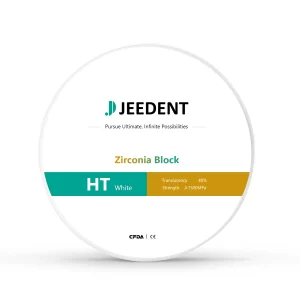
 White Zirconia Blocks
 Multilayer Zirconia Blocks
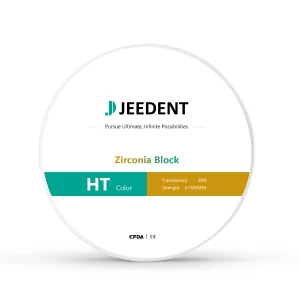 Color Zirconia Blocks
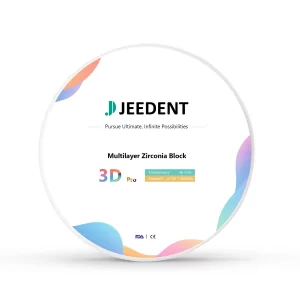 3D Zirconia Blocks
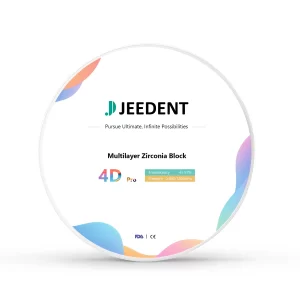 4D Zirconia Blocks
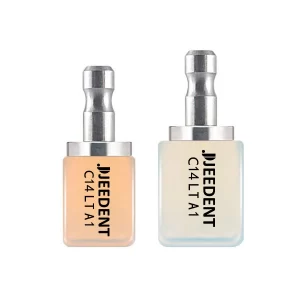 Amber Lithium Disilicate
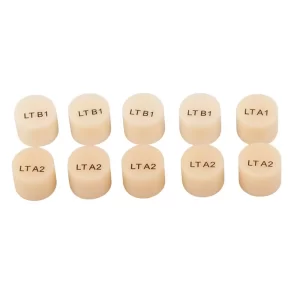 Press Porcelain
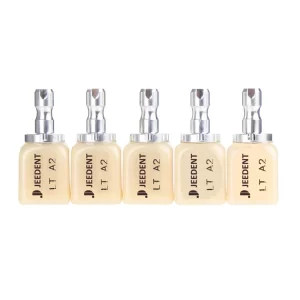 Non-sinterd Ceramics
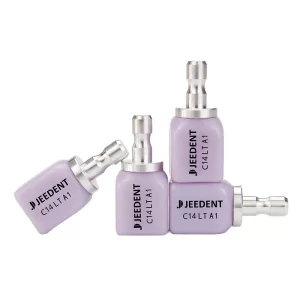 C14 Lithium Disilicate Ceramics
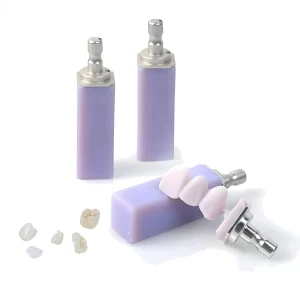 B40 Lithium Disilicate Ceramics
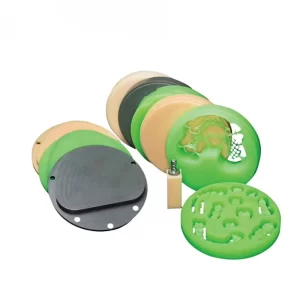 WAX Disc
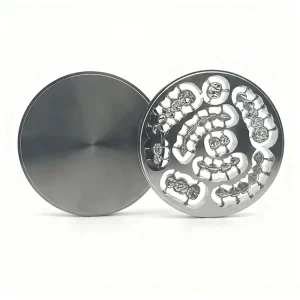 Titanium Disc
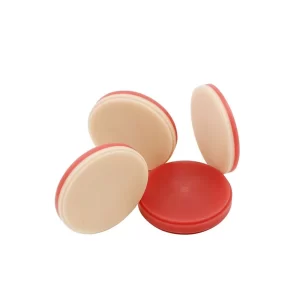 Double Layer PMMA Disc
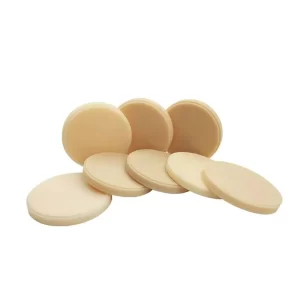 PMMA Disc
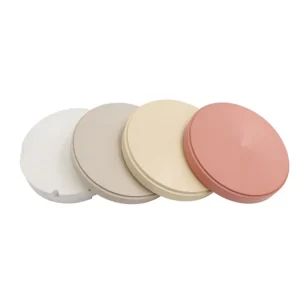 PEEK Disc
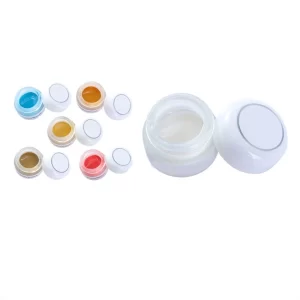 Stain & Glaze
 Dental Scanning Paste
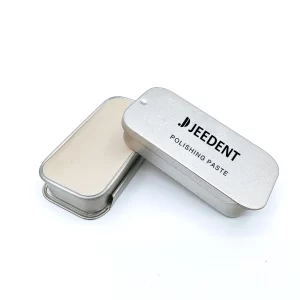 Dental Polishing Paste
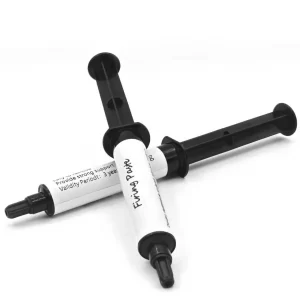 Dental Sintering Paste
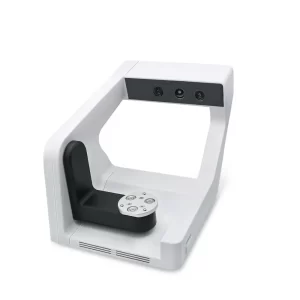 Desktop dental 3D scanners
 Intraoral scanner
 Dental Sintering Furnaces
 Dental Porcelain Furnace
 Dental Milling Machine
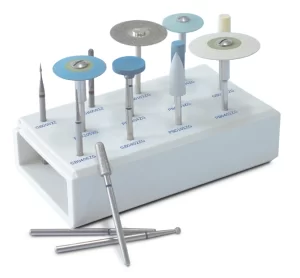 Dental polish kit
 BN Articulator
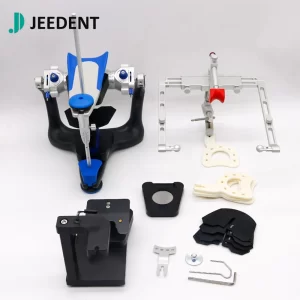 Full Adjustable Articulators
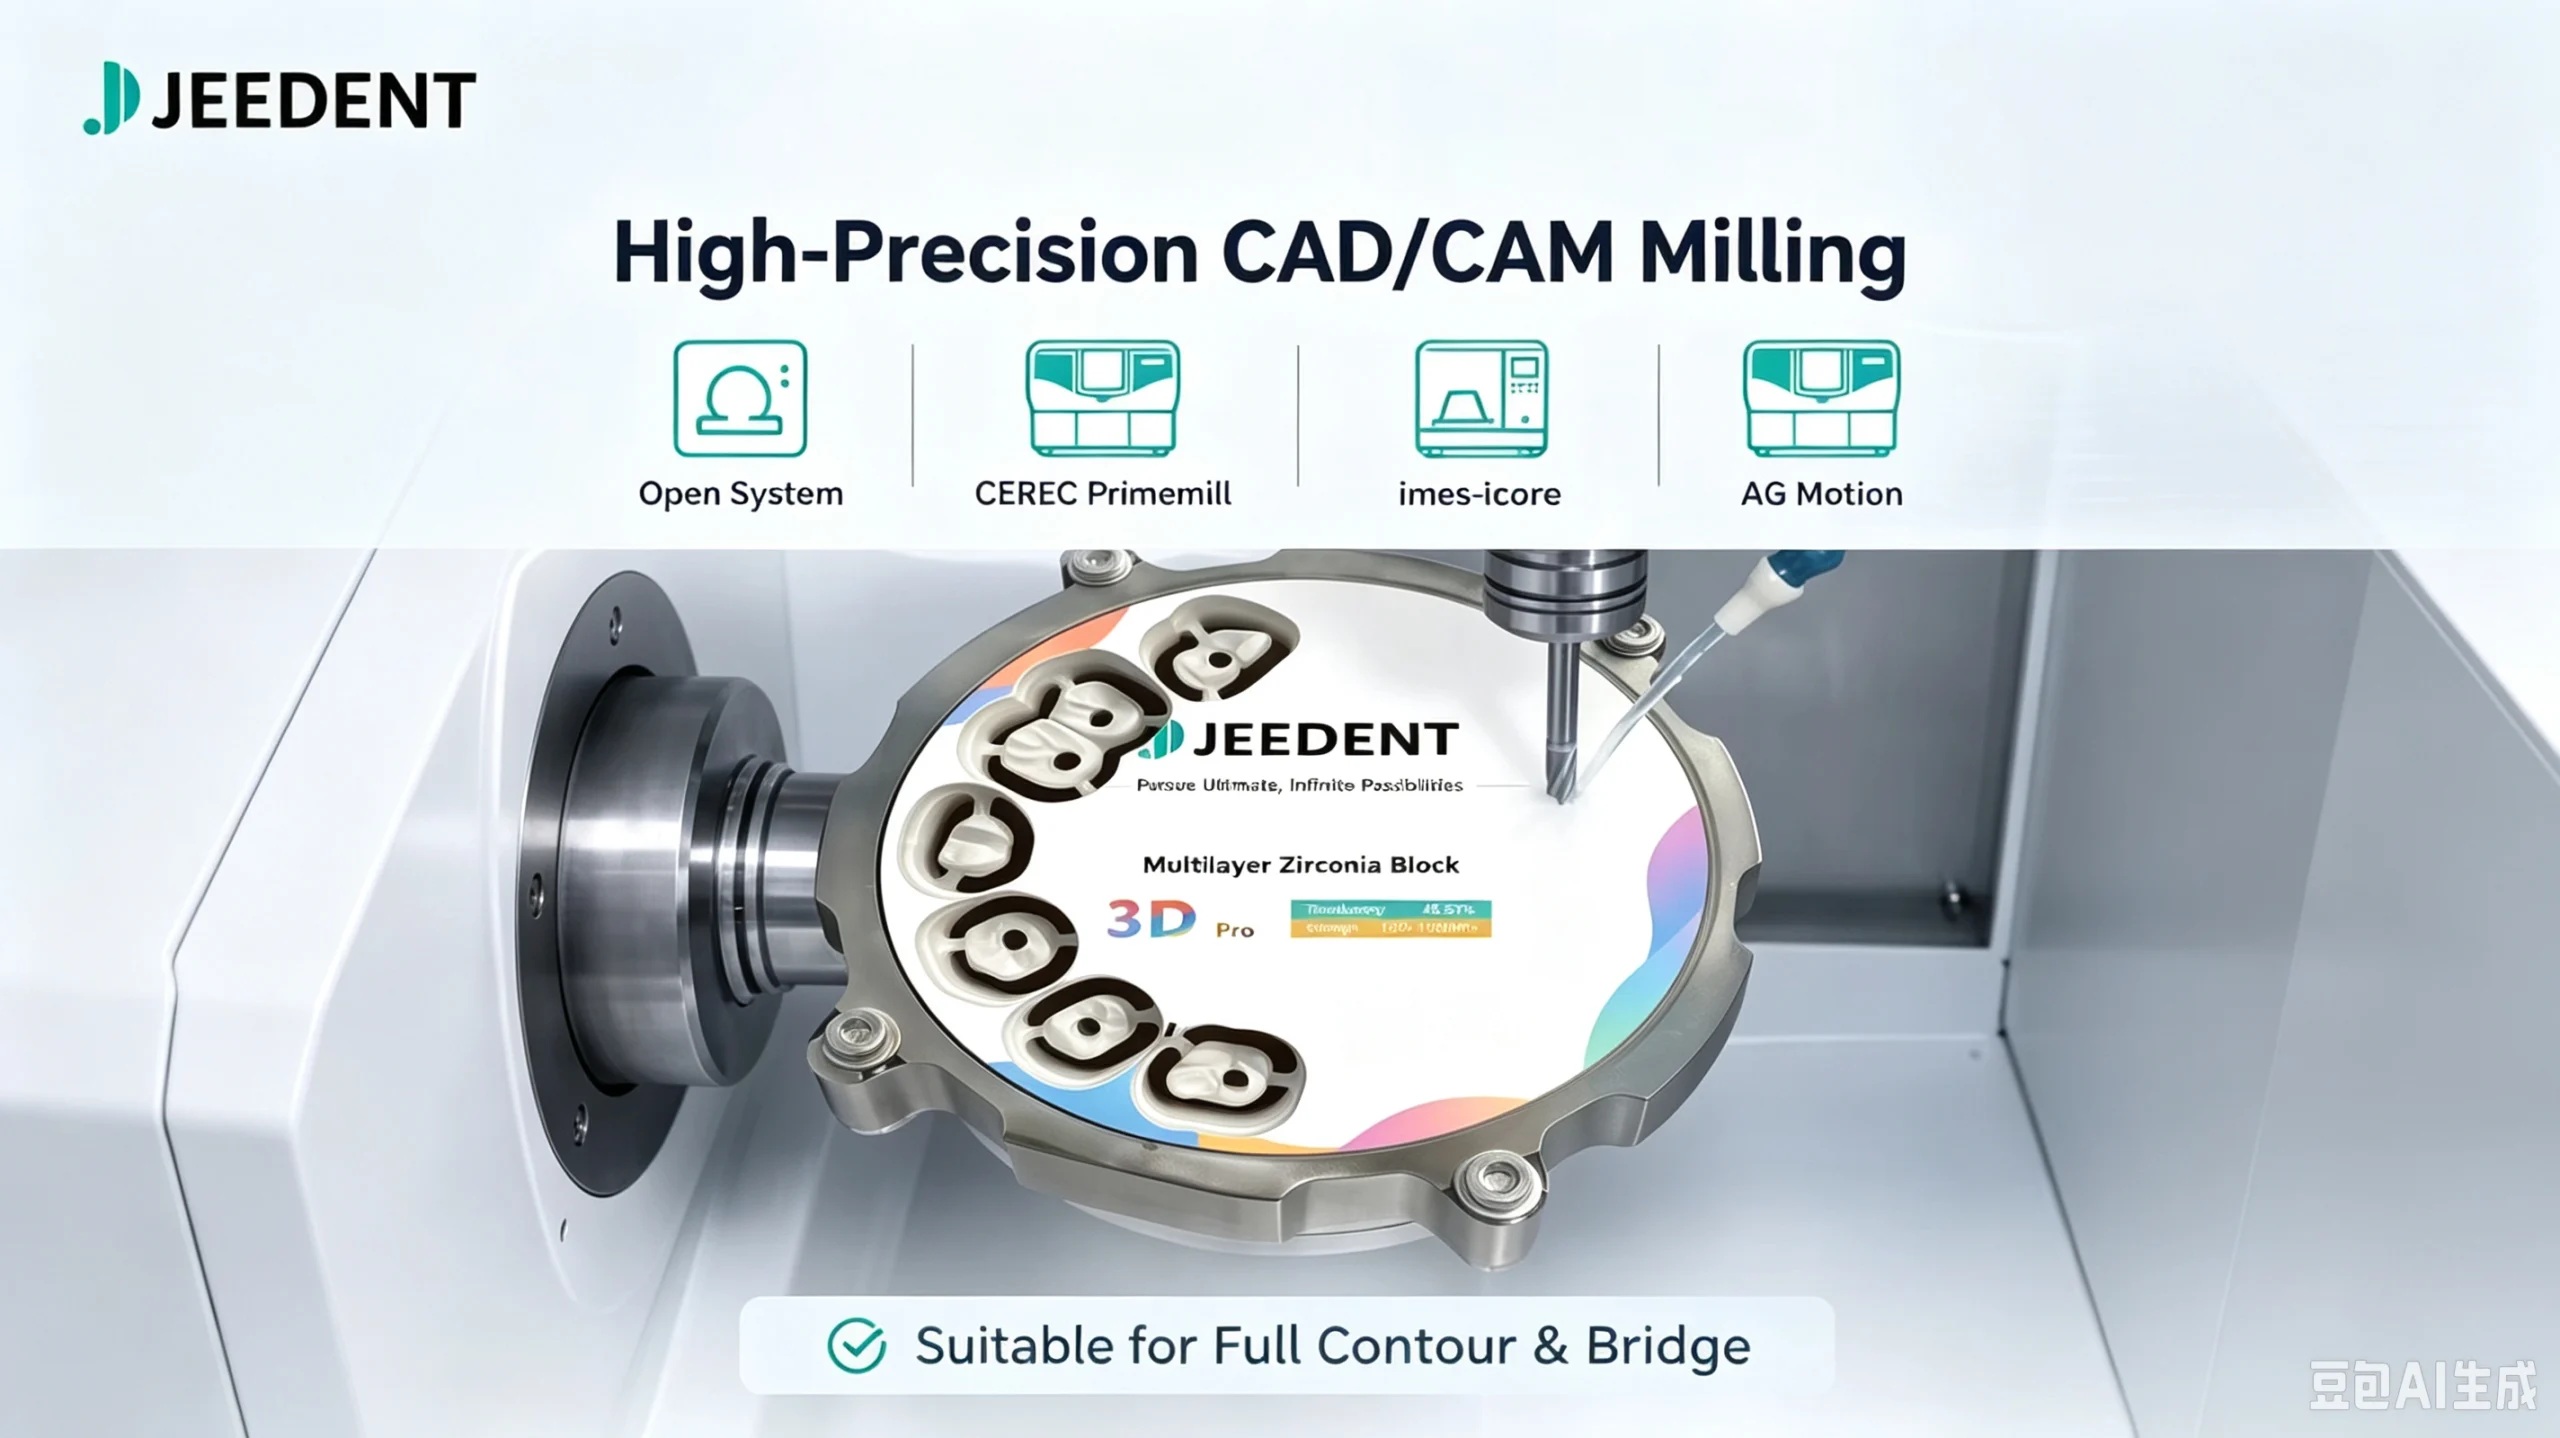
Zirconia remains one of the most popular materials for dental crowns and bridges in modern CAD/CAM labs. It delivers great strength and natural aesthetics, but it is also unforgiving during milling. Small mistakes in the workflow easily lead to chipping, hidden cracks or poor dimensional fit, which means wasted blocks and extra rework for your team. This guide walks you through the full zirconia milling process step by step. We will cover pre-milling checks, milling operation, post-processing and common troubleshooting, helping your lab boost yield and cut down material waste.
Pre-Milling Preparation for Zirconia Blocks
Many lab technicians rush into milling. They skip preparation work. This is where most avoidable failures start. Good pre-milling checks help catch issues before cutting begins. They also save expensive zirconia blanks from being scrapped. This stage focuses on three core parts. The first part is verifying the zirconia block. The second part is inspecting the machine and burs. The third part is double-checking all CAD and milling parameters.
Check Zirconia CAD-CAM Block Specifications
First, make sure the block actually matches the case you are working on. Check the thickness and find out whether it is pre-sintered or fully sintered—these two behave completely differently under the mill. Then look the block over before you clamp it. Small cracks, chipped corners or slight warping from storage can hide in plain sight. If something looks off, do not use it. That defect only grows while you cut, and you end up throwing away both the block and your time.
Inspect Milling Machine and Cutting Tools
Before a batch run, give the spindle a quick calibration check. A worn spindle vibrates, and vibration is a fast ticket to chipped edges. Then inspect your milling burs closely. Zirconia is brutal on cutting edges, so stick to carbide or diamond-coated burs built for it. The moment you spot worn flutes or a dull edge, swap the bur. Holding onto a tired tool to save a few dollars almost always costs you a restoration instead.
Confirm CAD Design and Milling Parameter Settings
Take a real look at the digital model before you send the job down. Check the margin gap, occlusal clearance and internal fit. Tiny design errors here become big fit problems once the crown is milled. Also match your feed rate and spindle speed to both the block brand and the bur you loaded. The default settings in the machine are not a promise. Test and save your own parameters for the materials you use daily, and you will see far fewer surprises.
Step-by-Step Zirconia Milling Operation Workflow
Preparation is done. Cutting can begin. Technicians should follow a clear order each time. Rough milling comes first. Finish milling comes second. Working gradually lets the material release stress. Rushing with aggressive cutting causes micro-cracks. These cracks show up later. Slow and steady work gives the best results.
Block Clamping and Workpiece Fixing
Set the zirconia block firmly in the machine holder. Loose clamping is one of those problems nobody notices until a crown comes out slightly off. Even a tiny shift during cutting changes the dimensions and leaves uneven margins. Check that the block sits flat with no wobble. At the same time, do not over-tighten—too much pressure can crack the blank before milling begins. A few extra seconds on clamping pays off in clean, consistent results.
Rough Milling: Remove Excess Material
Rough milling is about removing material fast, but not recklessly. Keep a small safety margin for the finish pass instead of cutting everything in one go. Do not crank the feed rate way up here. Aggressive cutting loads both the bur and the zirconia, and that load ends up as vibration and heat. Leave roughly 0.15 to 0.25 mm on the surface and margins. That buffer protects the final shape and keeps you from over-cutting during finishing.
Finish Milling for Precise Restoration Contours
Finish milling is where the crown actually takes its final shape—the anatomy, the margins, the occlusal surface. This is what decides whether the crown seats well on the preparation. Ease the feed rate down compared to rough milling. Watch the marginal area closely; it is the thinnest and most fragile part. Keep the cut smooth and continuous. Any jump or vibration right here leaves micro-chips that are a pain to repair once the piece comes out.
Post-Milling Handling Before Sintering
The machine stopping does not mean the work is done. The restoration is still fragile at this stage. It is in its green state. How workers handle, clean, and deburr it now decides the final result. Rough handling can create invisible micro-cracks. These cracks only show up after sintering. This wastes all the milling effort.
Deburr and Remove Micro-Chips
Work gently along the edges with soft fine diamond tools to remove burrs and tiny chips. Do not bear down hard. Aggressive grinding can introduce fresh micro-cracks into the zirconia surface. Focus only on the rough leftovers from milling. If a larger chip shows up on the margin, step back and judge whether the piece is worth saving. Patching serious damage often just leads to failure after sintering, so be honest about it.
Clean Milled Zirconia Restorations
Workers should remove all zirconia powder and dust from the crown before sintering. Compressed air can blow away loose debris. A gentle ultrasonic clean should follow. Powder trapped in crevices or along the margins burns during sintering. It leaves dark marks. It can also disrupt heat distribution and cause uneven shrinkage. A properly cleaned restoration sinters evenly and keeps its dimensions. Workers should not skip this step.
Common Zirconia Milling Mistakes & Troubleshooting
No lab gets through the week without a problem. Most problems repeat. Once workers know the cause, they can fix the problem fast. Two complaints come up most often in daily zirconia work. The first is chipping. The second is poor fit.
Prevent Chipping and Edge Fractures
Chipping usually traces back to one of three things: a worn bur, cutting parameters that are too aggressive, or a block that is not clamped properly. Start by checking the bur—that is the easiest culprit to rule out. If it is still sharp, slow the feed and take lighter passes. Then look at spindle vibration. Small tweaks often clear up edge chipping without you having to rework your whole setup.
Fix Dimensional Inaccuracy Issues
When a milled crown does not fit, walk through the usual suspects one by one. Start with the CAD model’s compensation settings for sintering shrinkage. Then verify the machine calibration and how the block was clamped. Material matters too—different zirconia blocks shrink at different rates. Keep a simple log of the parameters for each material you use. That record makes it easy to adjust settings and keep your fit consistent across every case.
FAQs:
Q1: What is the most common reason for zirconia chipping during milling?
Most zirconia chipping comes from unstable cutting conditions. Worn burs, overly fast feed speed, slight block movement or spindle vibration easily damage soft green-state margins. Using sharp zirconia-specific burs and moderate cutting speed is the easiest way to avoid edge chipping in daily lab work.
Q2: Can regular dental burs be used for zirconia milling?
No, standard burs don’t work well for zirconia. Zirconia is hard and abrasive, which quickly dulls common burs. Dull tools tear the material and cause rough surfaces and micro-chips. For clean, stable milling, always use carbide or diamond-coated burs specially made for zirconia blocks.
Q3: How can dental labs improve overall zirconia milling success rate?
Focus on standardized workflows. Check blocks and burs before milling, avoid continuous overloading, and follow rough-to-finish cutting steps. Stable speed, proper clamping and full post-milling cleaning greatly reduce defects and rework.
Q4: Do I need to clean zirconia restorations right after milling?
Yes, post-milling cleaning is mandatory. Residual zirconia powder sticks to margins and inner surfaces. It causes stains, pits and uneven shrinkage during sintering. A simple air blow and ultrasonic cleaning ensures clean, stable final restorations.
Conclusion
Good zirconia milling is never about complicated techniques, but consistent, careful workflows. Simple habits—pre-milling inspection, standard rough-to-finish cutting, and proper post-milling cleaning—can effectively avoid chipping, cracking and dimensional errors. These small but critical steps help dental labs stabilize restoration quality and reduce unnecessary rework.
As a professional dental material manufacturer, JEEDENT always insists on strict quality control for every zirconia block and milling bur we produce. Our high-stability zirconia blanks deliver consistent shrinkage and excellent compatibility with mainstream CAD/CAM systems, while our zirconia-specific milling burs ensure smooth cutting, higher yield rates and lower long-term consumable costs for dental labs.
For more product details and technical guidance, feel free to browse our official JEEDENT website. If you are searching for reliable dental zirconia materials and durable milling tools, contact our team anytime to get professional support and product samples.
Email: [email protected]
Whatsapp:+86 18967127907