 White Zirconia Blocks
 Multilayer Zirconia Blocks
 Color Zirconia Blocks
 3D Zirconia Blocks
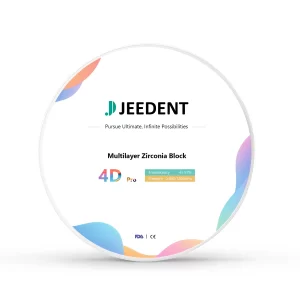 4D Zirconia Blocks
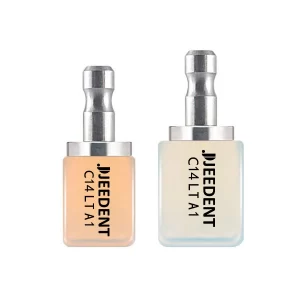 Amber Lithium Disilicate
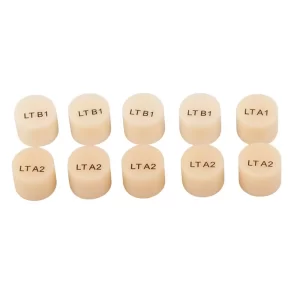 Press Porcelain
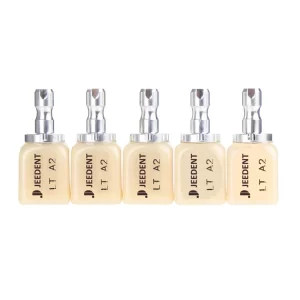 Non-sinterd Ceramics
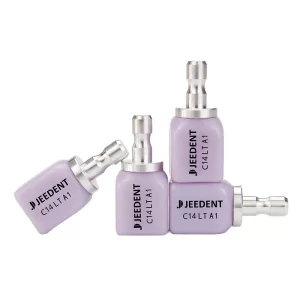 C14 Lithium Disilicate Ceramics
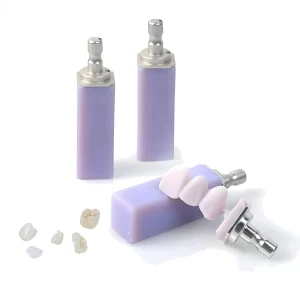 B40 Lithium Disilicate Ceramics
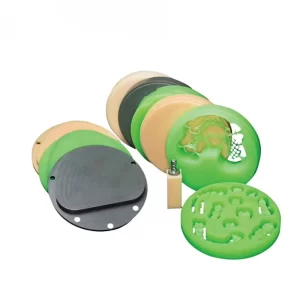 WAX Disc
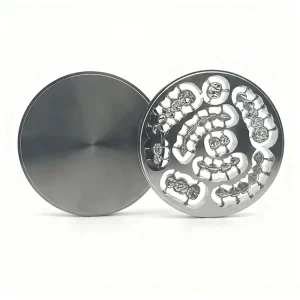 Titanium Disc
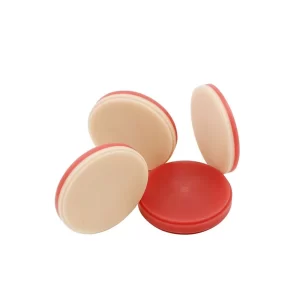 Double Layer PMMA Disc
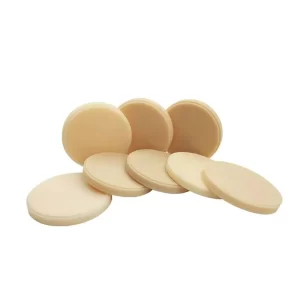 PMMA Disc
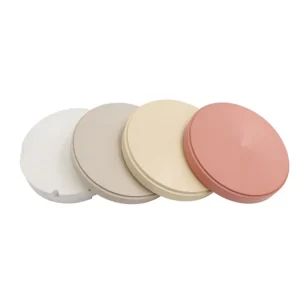 PEEK Disc
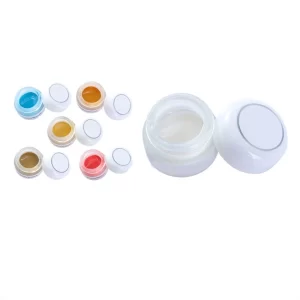 Stain & Glaze
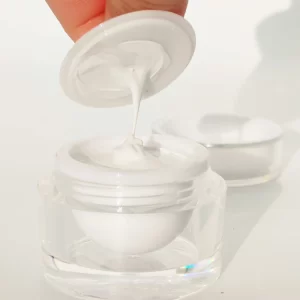 Dental Scanning Paste
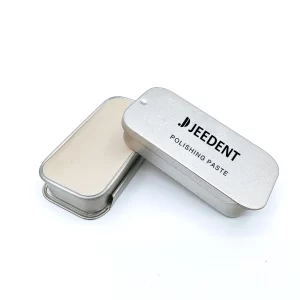 Dental Polishing Paste
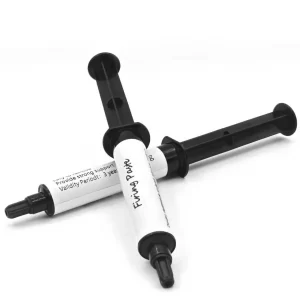 Dental Sintering Paste
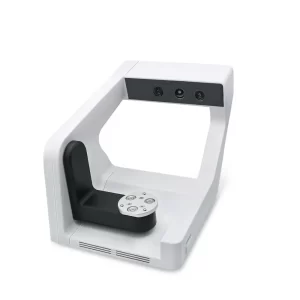 Desktop dental 3D scanners
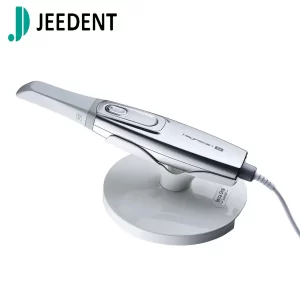 Intraoral scanner
 Dental Sintering Furnaces
 Dental Porcelain Furnace
 Dental Milling Machine
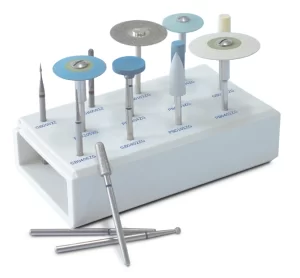 Dental polish kit
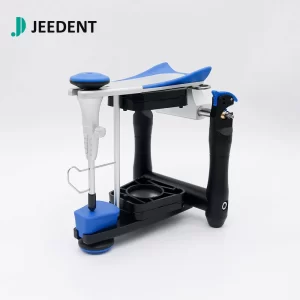 BN Articulator
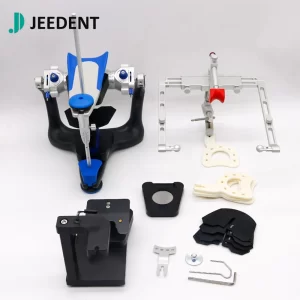 Full Adjustable Articulators
For dental clinicians, polishing is never just a cosmetic step to deliver a bright smile. It’s a core clinical procedure that extends restoration lifespan, cuts down plaque retention, and prevents secondary caries. But here’s a critical question: even if you perform polishing daily, is your technique fully correct? Is your workflow complete and standardized? This guide delivers a clear, actionable step-by-step protocol to help dentists and assistants master proper polishing, for consistent, superior clinical outcomes.
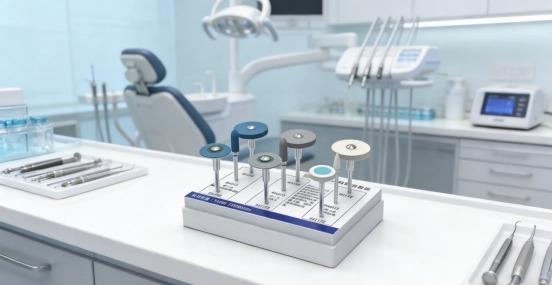
Pre-Polishing Preparation: Choose the Right Tools for Maximum Efficiency
The foundation of a good polish begins before any work starts. Selecting the right tools is essential for proper use of a dental polish kit. First, match the kit to the restoration material. For composite resin, use fine-grit polishing heads. These heads generate low heat during use. For ceramic or glass ceramic restorations, choose diamond polishing paste. Apply it with dedicated rubber tips. For metal restorations like cobalt-chromium or gold alloys, select wear-resistant polishing tools. Next, perform a pre-procedure tool check. Inspect polishing heads for wear or damage. Verify that polishing paste has not expired. Confirm that compatible brushes or discs are available. These tools help reach difficult areas during polishing. Proper preparation ensures consistent and effective results.
Step 1: Coarse Grinding – Remove Excess Material and Surface Roughness
The first step in standardized tooth polishing is coarse grinding. This step removes surface imperfections, creating a smooth base for subsequent processes. Coarse grinding is performed immediately after restoration shaping. At this stage, noticeable bumps or uneven edges may appear on the tooth surface, and there may be residual material. These issues need to be corrected first. For coarse grinding, it is recommended to use fine diamond burs, but coarse silicone burs are also suitable. Both tools are included in a standard polishing kit. During the process, please follow these three key principles: use low speed; apply gentle and steady pressure; keep each contact time with the tooth surface short; and always keep the work area moist. Water can prevent overheating, which can damage the dental pulp. The ultimate goal is to obtain a completely smooth surface without any deep scratches. This prepares the tooth surface for the next polishing step.
Step 2: Fine Grinding – Transition to a Uniformly Smooth Surface
Once coarse grinding is complete, begin the second step. This step is fine grinding. It creates the transition from a flat surface to a glossy finish. Fine grinding is essential for reliable composite polishing.This step removes micro-scratches from coarse grinding. These tiny marks are not visible. Still, they will ruin the final gloss if left untreated.Use a medium-grit silicone tip for this stage. A flexible polishing disc also works well.Follow two critical tips during fine grinding. First, rinse the area thoroughly before starting. Change tools to avoid leftover particles causing new scratches. Second, use consistent rotation strokes. Avoid over-polishing one area.The target is a uniform matte surface across the entire restoration.
Step 3: Fine Polishing – Restore Natural, Mirror-Like Gloss
The third step is fine polishing. This stage delivers the natural gloss that matches enamel. It is the most anticipated part of the finishing process.Fine polishing begins after fine grinding is complete. The surface is now ready for final gloss.Use a fine-grit silicone tip for this step. Pair it with specialized polishing paste from your kit.Follow three key tips during fine polishing. First, use a moderate amount of paste. Too much causes splattering. Second, work at low to medium speed. Keep contact extremely light and gentle. Third, use a polishing brush for hard-to-reach areas. Apply paste to the brush for full coverage in these spots.The end goal is a smooth, glossy surface. No scratches should remain. No chalky white spots should appear. The finish should blend seamlessly with natural tooth enamel. This result completes the restoration process.
Step 4: Cleaning and Inspection – Ensure a Perfect Final Finish
No polish is complete without a final check. This closing step ensures the work lasts long-term. First, perform a thorough rinse. Remove all residual polishing paste and debris from the oral cavity. Next, dry the treatment area completely. Inspect for missed spots or remaining micro-scratches. These issues are easier to see on a dry surface. Run a dental probe lightly across the surface. Confirm it feels completely smooth. There should be no resistance or catching. Take clinical photos for case documentation. Photos also help with patient education. Patients can see the quality of the finished work. This final check confirms the restoration meets clinical standards. It also protects against future problems.
Common Polishing Mistakes and How to Avoid Them
Even experienced clinicians make common polishing mistakes. These errors can harm results and affect patients.
- Skipping coarse grinding is a frequent error. Some jump straight to polishing. This causes uneven gloss and leaves scratches. Avoid this by following the correct sequence: coarse, fine, fine polish.
- Excessive pressure or speed causes problems. It leads to overheating and pulp damage. The restoration may wear too quickly. Stick to recommended speed ranges. Use light, consistent pressure throughout.
- Using one polishing head for all steps reduces quality. Cross-contamination occurs. Grit effectiveness is lost. Change heads for every stage of the process.
- Dry polishing damages the surface. It creates extreme friction and heat. Scratches appear more easily. Keep the treatment surface wet during every step.
- Forgetting to clean tools between stages causes new scratches. Leftover coarse particles remain active. Rinse the area thoroughly with each tool change. Clean tools prevent secondary damage to the restoration.
Conclusion
At the end of the day, consistent polishing is both a clinical skill and a sign of practice quality. It affects restoration life, patient comfort, and your clinic’s reputation. The formula is simple. Use the right professional tools. Follow standardized steps in order. This equals repeatable, perfect results every time. For a complete polishing solution, explore JEEDENT’s product range. Our tools cover every stage from coarse grinding to fine polishing. All products meet FDA and CE standards. We offer professional polishing tips and universal kits. They serve as a one-stop shop for chairside clinical excellence.